This weeks craft product recommendation is: Anita’s 3D Clear Gloss. Some of you may have already discovered this product – which is brilliant, but some of you may be buying expensive alternatives because you think that because they cost more, they’re somehow better.
I’ve been using this product for a while now and LOVE it. It adds a glossy accent to any part of your card, scrapbooking page, project … or even a photograph, and does it so amazingly well. I think I probably use this more often than any other of the craft products in my craft room (oh, apart from glue of course). It’s amazing how much I call on this one to just give something that extra bit of texture, glamour, loveliness or simply to accent part of something which just adds that certain something to a project.
If you’re using an old vintage photograph of someone crying … this is what you’d use to make that teardrop glisten. If you’re making a card with a picture of children painting … use this on [some of] the paints and especially use it on the water pot – for that bit of realism and highlight.
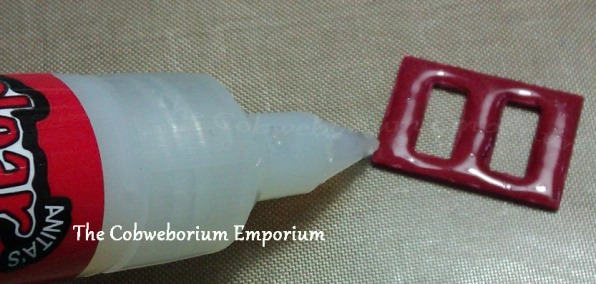
… what you’re looking at is a die cut ribbon slider which is actually as flat as a pancake. I’d cut it out earlier and rubbed it over with an ink pad in the hope of it showing the Anita’s 3D Clear Gloss up better in a photo.
I gave it time to dry and then gently tipped the ‘pen’ of the 3D gloss up so that no air bubbles got trapped, and very gently gave the sides of the ‘pen’ a tiny squeeze to allow the liquid to flow. DON’T give it a hard squeeze, it flows out easily by just the slightest encouragement. Just gently move the nib around the parts you want to accent with the Gloss and then slowly stop squeezing to stop the flow of the liquid.
Give it a practice first so that you get the feel for how much of a squeeze you need to give it, and also see how gently and easily it flows, and how it seems to know where you want it to be
Word of warning though ... DON’T SHAKE THE PEN! You don’t need to ‘mix’ the liquid inside the pen, it’s already ready to ‘go’… and if you shake it you’ll introduce air bubbles to the liquid and then have an air bubbled finish to your gloss – which you probably won’t want
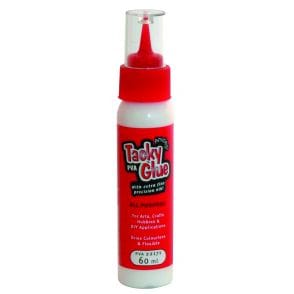
If you do get the odd bubble in the liquid then don’t panic. Wait until you’ve finished putting the gloss on to your project and then simply take a pin and pop the bubble(s) – or … if you get skilled at using the ‘pen’, you can actually suck the bubbles out using the ‘nib’ and ‘unsqueezing’ the bottle. (You’ll get the knack if you practice a little on some scrap paper).
Give it a try. I’m pretty sure you’ll quickly grow to love this product.
Article source: https://thecobweboriumemporium.wordpress.com/2014/04/12/anitas-3d-clear-gloss-my-recommendation-of-the-week/
Leave a Reply